If you’ve ever worked with heat shrink tubing, you may have wondered what temperature the tubing needs to see in order to bond to the subsurface materials. The correct amount of heat is needed for proper shrinkage, insulation, and protection. Regardless of whether you are bundling wires or sealing off probe assemblies, being aware of the appropriate temperatures of different tubing will ultimately make or break your project.
What Is Heat Shrink Tubing?
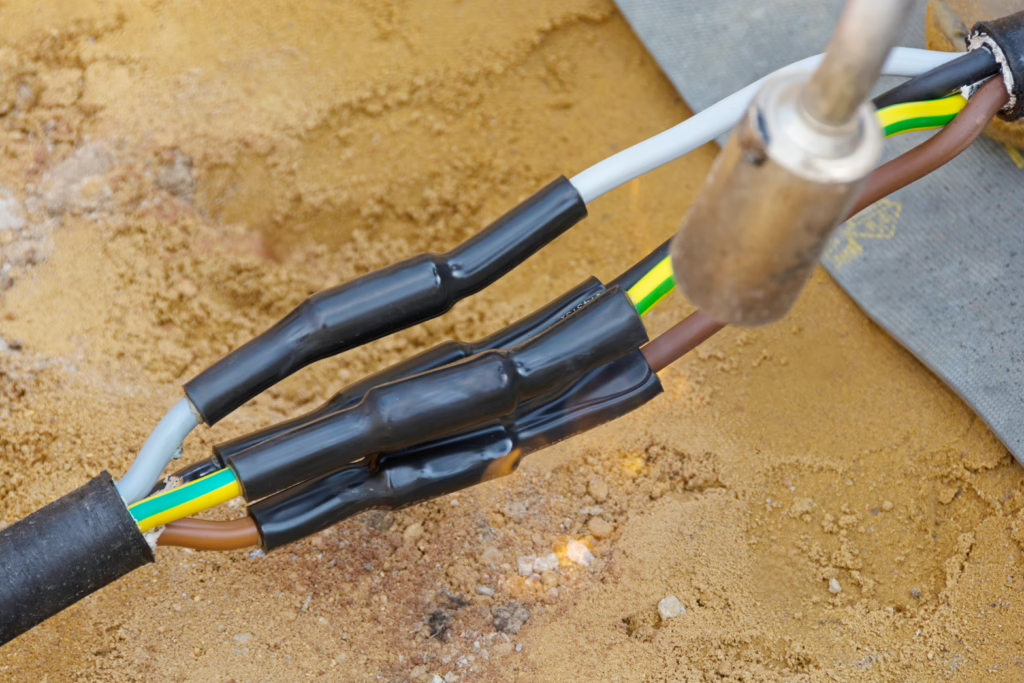
Heat shrink tubing is an expanded tubular piece of plastic that reduces in size when heated, and is commonly utilized to insulate and protect wires, joints, and terminals. When the correct amount of heat is applied, it provides excellent moisture, abrasion, and even chemical protection. For these reasons, it is a common solution for everything from electrical contracts to medical uses. In fact, for more specialized applications (think: medical sensors or diagnostics), there are even heat shrinkable probe covers that protect delicate sensors and RTD’s from damage caused by harsh environments.
Why Temperature Matters
If you don’t use enough heat you’ll get a loose fit that will leave wires exposed to the risk of damage or moisture. Too much heat will melt or crack the tubbing, or worse yet, damage the items on the surface of the tub. Use uniform, moderate heat to the specifications on the material for the best results.
Common Shrink Temperatures by Material
Different tubing types have different ranges in “shrink activation”:
- Polyolefin: 90 – 125°C – Most common and versatile.
- PVC: 80 – 105°C – Most economical but least durable.
- PTFE: 327 – 340°C – Most chemical-resistant, best for harsh environments.
- FEP: 200 – 230°C – Very good in high temperature and for chemical exposure.
- PVDF: 150 – 175°C – Best flame-retardant and mechanically tough.
- Silicone: 150 – 200°C – Most flexible even at extreme temperature.
- Viton: 175 – 200°C – Best fuel and chemical resistant.
- Elastomeric: 120 – 175°C – Good durability, and abrasion resistance.
These ranges should provide some general guidance, but always refer to the manufacturer’s data sheet for the specific shrink temperature.
Heat Application Methods
When it comes to shrink tubing, heat guns are the most consistently reliable choice. Not only do you have adjustable temperatures, but you also have a constant output. Torches are good choices too, but it is much harder to control the risk of overheating. In just about all circumstances, avoid using lighters or soldering irons unless you’re working with components that aren’t critical or part of an experiment (you may melt the tubing).
Practical Tips
- Begin heating from the middle and then move out.
- Rotate the component, this way, shrinkage will be even.
- If you’re heating the tubing with an adhesive liner, look for adhesive at the ends of the tubing, this shows that the item is fully activated.
- Allow everything to cool before handling to avoid burns, and/or deforming the material.
If you are working with chemically resistant/high performance applications, you will want to consider using PFA tubing, which is great for corrosive and high heat environments. PFA Tubing is optically clear and is rated for 500° F
Final Thoughts
Knowing the amount of heat for heat shrink tubing will assist with better results, stronger seals and protective coverings that last longer. It all comes down to the right materials and methods. When completing anything from basic wire repairs to protecting sensitive instruments, knowing the heat profile of your shrink tubing will help you complete the task more effectively and safely. Need help choosing the right heat shrink tubing for your application? Contact us today to speak with a specialist and get expert guidance on materials, temperatures, and custom solutions.